Download DroidKit to Get Various Android Solutions.
User Guide of DroidKit
View the most comprehensive guides to Remove Locked Screen, Bypass FRP Lock, Recover Lost Data, Fix System Issues, Extract Needed Data, Reinstall/Upgrade OS, Transfer Data and Clean System Junk. Download and try it now.
Free DownloadFor Win & Mac | 100% Clean & Secure
Transfer Data from iPhone to Android
Whether you encounter the similar situations below?
“Can DroidKit help to transfer the data from iOS device to my new Android Phone?”
“I want to transfer my messages and photos from my iPhone 12 to another Android device. Can DroidKit help me?”
If you just encounter the similar issue above, don't worry. You can try “iPhone to Android” mode to transfer data from iPhone to Android device. Please refer to the following guide to make good use of DroidKit.
Compatibility of Computer System
| Windows | Windows 11, 10, 8, 7, Vista (64bit) |
| Mac | macOS Sonoma, macOS Ventura, macOS Monterey, macOS Big Sur, macOS Catalina, macOS Mojave, macOS High Sierra, macOS Sierra, OS X 10.11 |
Supported Device OS Version
| Android | Android 5.0 and above |
| iOS | iOS 9 and above |
Supported File Types
| Photos, Music, Videos, Contacts, Messages, Call History, Calendar, Audiobooks, TV Shows, Books, Podcasts, iTunes U |
Differences between Trial Version & Activated Version
| Benefits | Trial Version | Activated Version |
|---|---|---|
| Transfer Data from iPhone to Android | Unlimited |
Step 1. Download DroidKit on Your Computer.
Download and install DroidKit on your computer. Please make sure the network is stable while downloading and installing DroidKit on your computer.
Step 2. Select iPhone to Android Mode.
Please launch DroidKit on your computer. Hover the mouse over Data Manager section and tab Android Mover function.
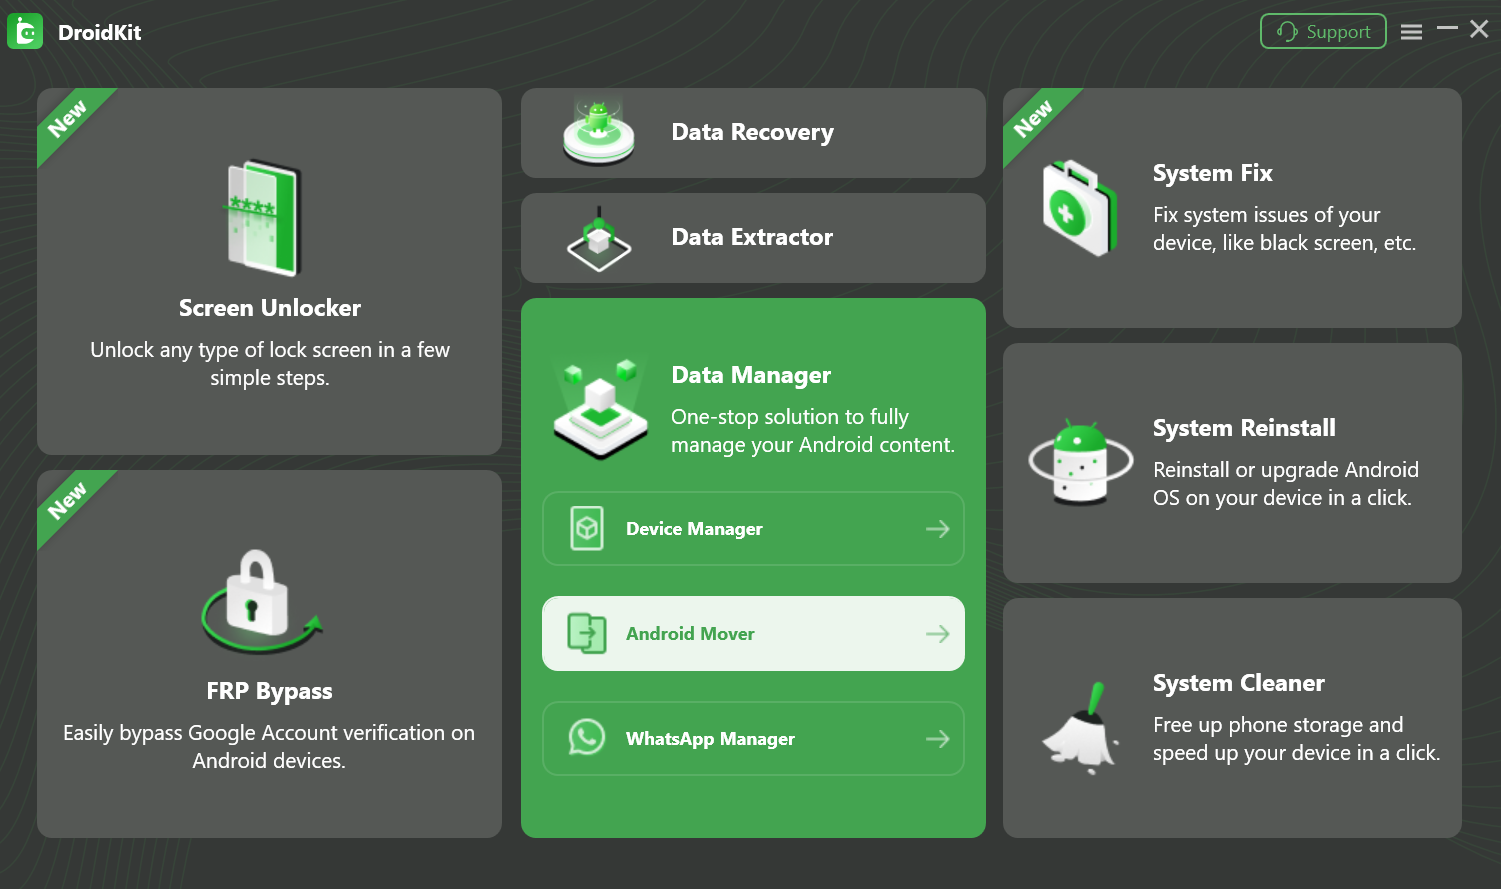
Select Android Mover Mode
In next screen interface, please tab iPhone to Android mode.
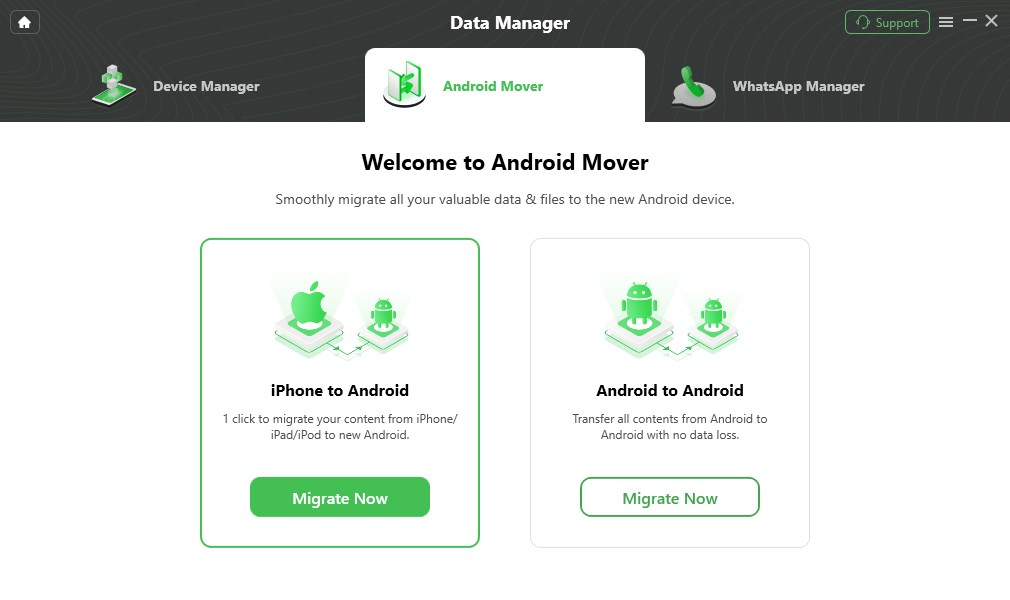
Select iPhone to Android Mode
Step 3. Connect Your Android & iOS Devices to the Computer.
By default, DroidKit will detect both iOS and Android devices automatically. If you don't connect your Android or iOS device to computer or your devices aren’t recognized, you will see the interface below:
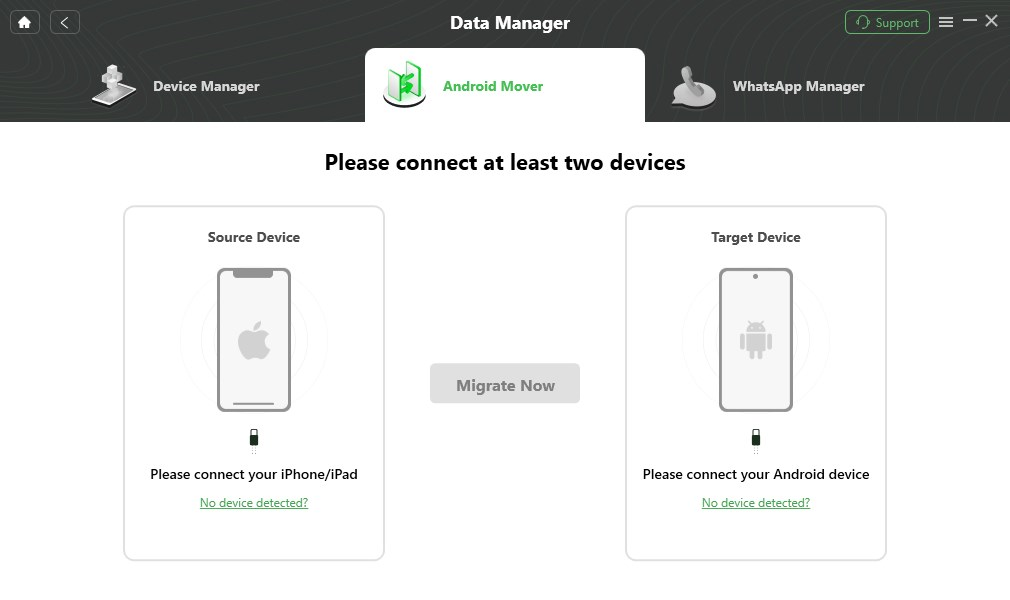
Connect Your Devices
Once your devices are recognized, the interface below will display.
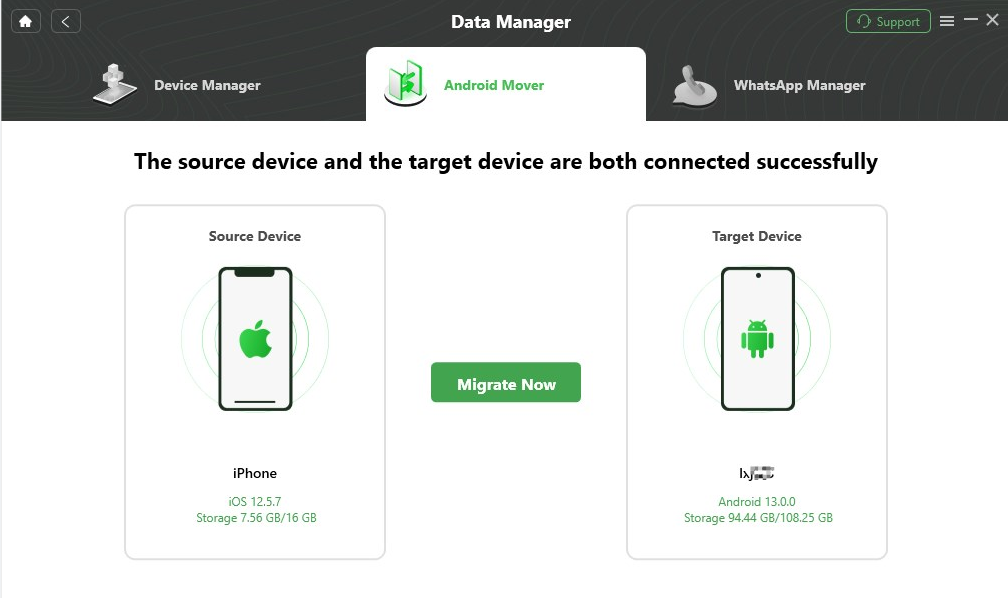
Your Devices are Detected
1. If DroidKit is unable to recognize your Android device, you may try these troubleshooting steps to solve this problem.
2. If DroidKit is unable to recognize your iOS device, you may try this page to solve this problem.
Step 4. Choose the Data to Transfer.
The supported types of files will be listed automatically. And you can choose all kinds of files you want to transfer based on your needs.
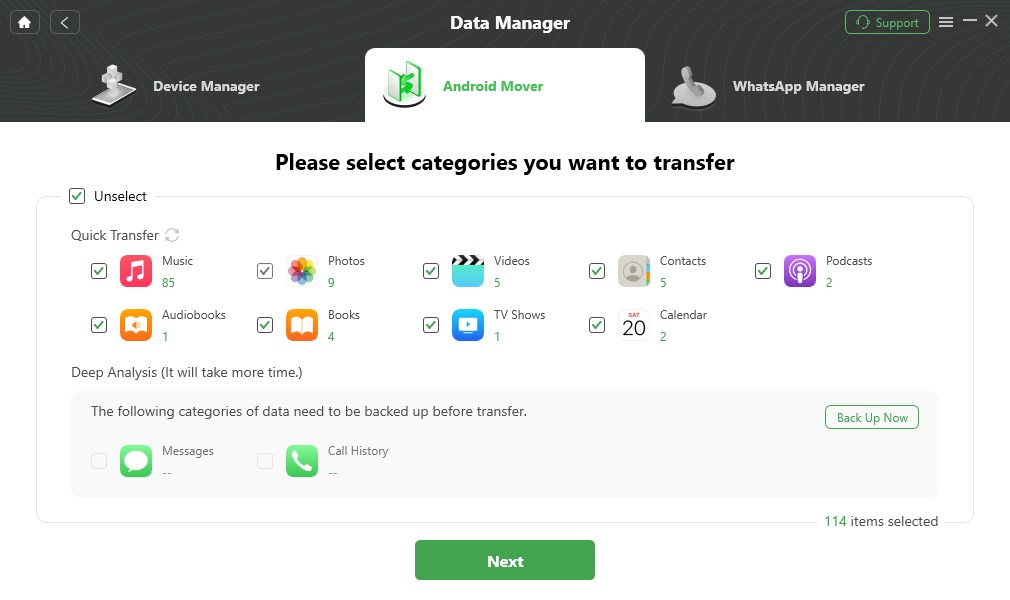
Select Category You Want to Transfer
1. Apple values user’s privacy, so it won’t let the third party software to detect your private data such as messages and call history. Please back up the data before transferring.
2. If you transfer messages and call history, to ensure smooth transmission, before transferring data, please go to iTunes to close the Encrypt Local Backup setting. If you forget iTunes backup password, please refer to this guide.
3. Due to the restrictions of iPhone 13 and later, call history can not be transferred over.
Step 5. Succeed in Transferring Your Data.
After clicking Next button, the transferring process will start. The transferring time may vary based on the size of your data. Please keep patient.
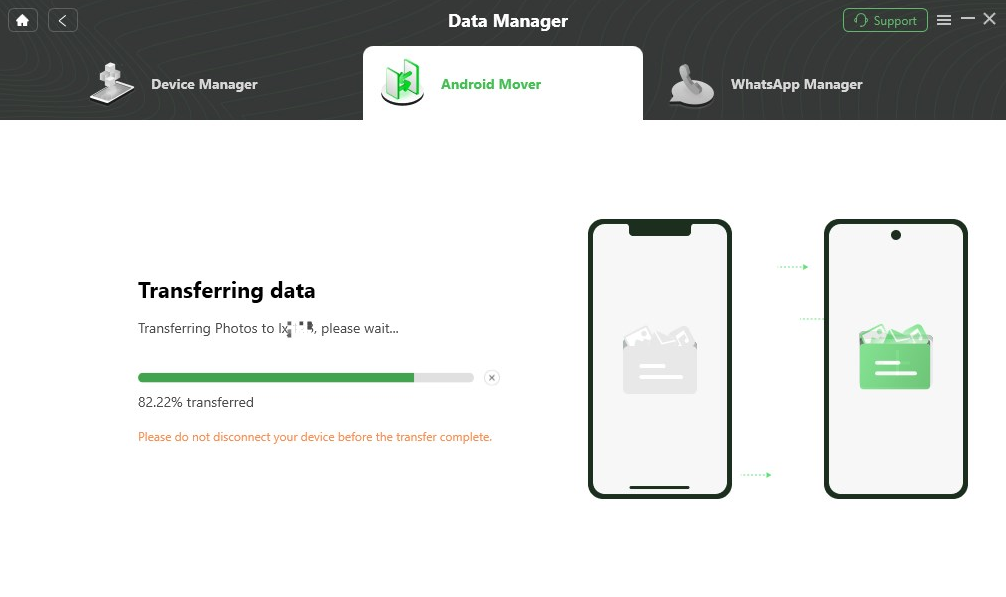
Transfer Process
When the transferring process finishes, you will see Transfer Successfully interface. If you want to go back to the main interface, please click OK option.
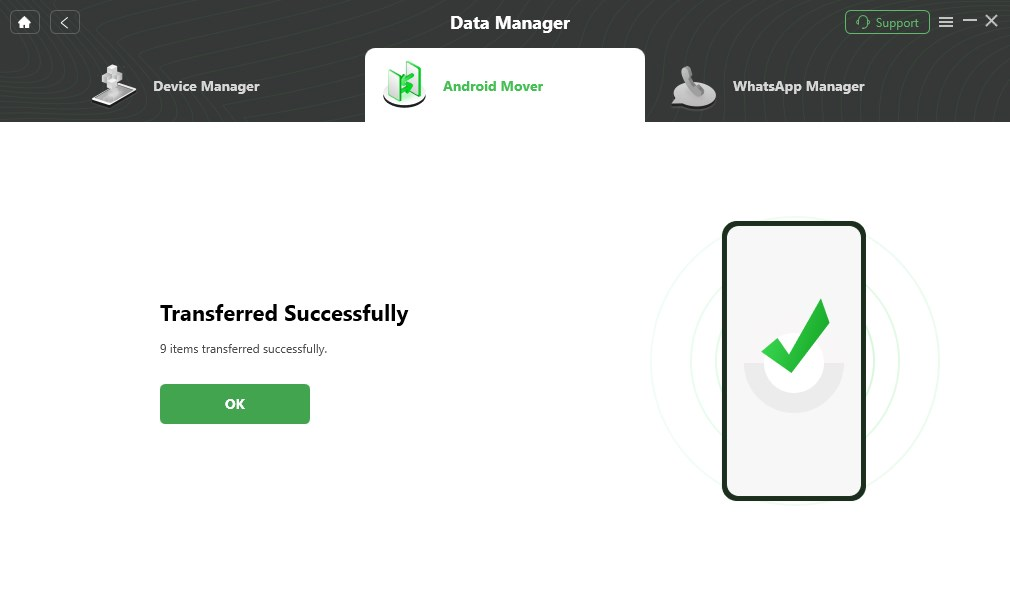
Transfer Succeed
If you still have questions after reading this guide, please refer to FAQs page to check more solutions. Or you can contact our Support Team to get further help. We are here to help you!